
Contributing in open source
Motivation
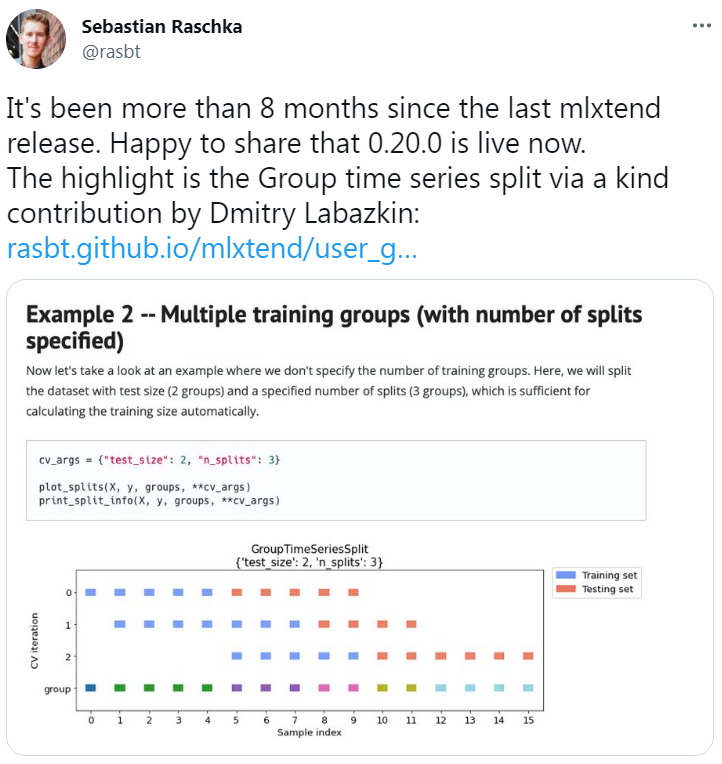
Recently I had a chance to make my first contribution in open source - mlxtend package of Sebastian Raschka, the author of many learning resources including one of my favorite books in machine learning - Machine Learning with PyTorch and Scikit-Learn.
The functionality which I contributed is GroupTimeSeriesSplit and it can be useful for evaluation in time series task in machine learning.
After 1.5 months of working on it I can see this functionality in the new release and the author even mentioned it in his Twitter post:
It was new and very interesting experience and therefore I decided to write the article:
- To describe the process itself
- To share my thoughts how to make this process faster and easier
- To inspire someone who was thinking of starting to make a contribution, but for some reason was still afraid to do it
There are resources which explain some part of the contributing process but I wanted to make it more complete and describe from different points of view based on real example:
- Why, what and how we can contribute
- Contribution timeline
- Interaction between contributor and maintainer
- Description of the full contributing pipeline with technical details
All conclusions here are just my point of view based on personal experience and may not be the best solution for everyone.
Why?
I think I have the following main reasons why I started to do it:
- It is just interesting
I’ve been studying how to build Python packages using best practices for the last few months and it seemed to me that such an experience would complement my knowledge very well - It is a great chance to communicate and collaborate with people much more experienced than me
- Finally my contribution may be useful to other people
What?
In my opinion it is easier to start with something simpler, for example:
- Supplemental materials to the book
- Сollection of links to various topics
We can find on Gitstar Ranking that 2 of 5 most popular GitHub repositories contain links to free programming books (237K+ stars) and even to all kinds of interesting topics (206K+ stars).
I started with creating Github issues for a book by the same author, and his feedback inspired me to suggest including my functionality in his Python package mlxtend.
For Python package itself there are many parts where contribution can be useful, including:
- Code
- Documentation
- CI/CD
And this type of contribution we will consider in the following sections of the article.
How?
1. Choose an idea
Idea should be rather interesting to you to have motivation to finish the work
2. Prepare
Very important step to use the time of all participants as efficiently as possible
3. Propose solution
Clearly define the problem you consider and possible steps to solve it
4. Implement solution
Collaborate with participants to solve the problem
In my case it was pretty easy to implement steps 1-3 (and even partially step 4) because before proposing GroupTimeSeriesSplit to the author:
- I created it for my personal usage (mostly for ML competitions)
- It was successfully used in projects at work by our team
- I wrote the article about that
- I restructured this functionality as the part of Python package
And by this time I had everything I needed to ask the author about contributing and in case of a positive answer, start developing.
Let’s look at a real example of the steps 3 and 4 in chronological order, where there were 2 participants - Sebastian (author of the library, maintainer) and I (contributor).
Timeline
08.04.2022
I asked the author in “Discussions” section about the interest to include this functionality in his library.
14.04.2022
Author answered to me and the answer was surprisingly positive:

15.04.2022-17.04.2022
I explored Contributing Guide which describes main steps thay are required to be implemented for a successful contribution.
18.04.2022
I created GitHub issue with more detailed description of proposed solution:
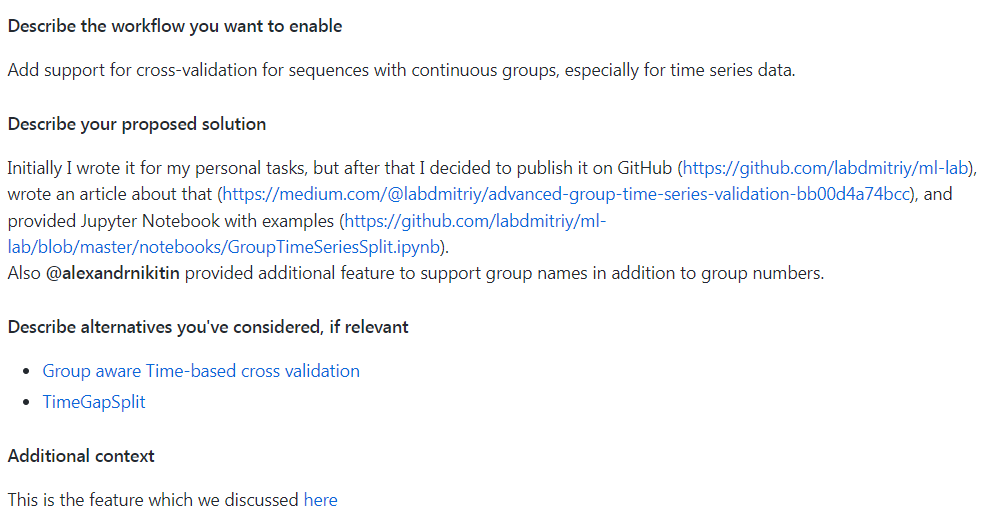
19.04.2022-22.04.2022
I prepared initial implementation based on requirements from Contributing Guide.
23.04.2022
I created Pull Request with initial implementation and link it with the issue:

24.04.2022-25.05.2022
At each iteration, I received feedback and refined the functionality based on the author’s review and his comments.
Final statistics of working on Pull Request:

26.05.2022
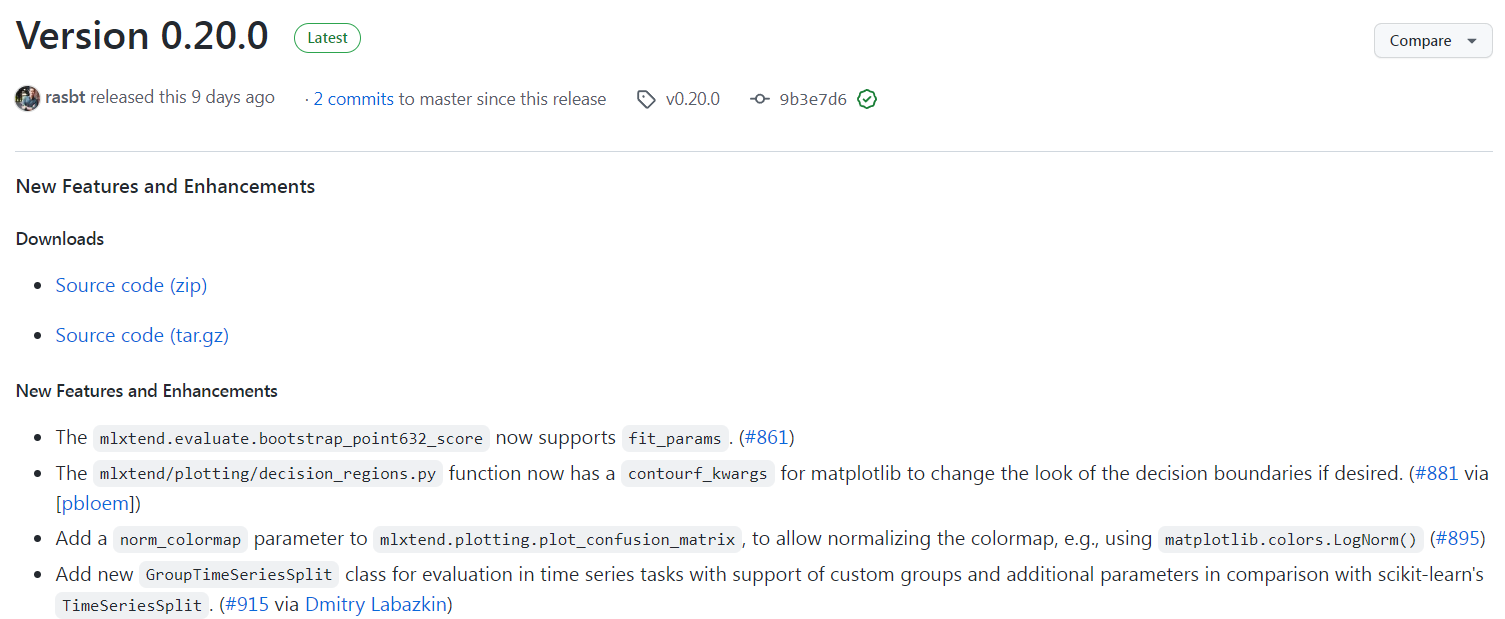
Author merged the final implementation:

and released new version:
We can show all the steps described using Gantt chart:

We can also visualize all the development steps in 44 seconds of video, moving icons are the developers and the tree is the file system structure which is changing by developers (for some reason this video is shown correctly on desktop but not on mobile devices):
A lot of files were changed because during the work on the implementation, additional improvements were discussed and made by the author in other parts of the repository. For example, isort/black/flake8 started to be used globally in the repository.
Up to this point, we have considered the process more from an organizational point of view, let’s now dive into the technical details of the contribution.
Contributor & Maintainer Interaction
For my case I drew the sequence diagram that shows all the steps in more detail.
It will be better to open it in a separate window to zoom in specific steps and follow the description below.
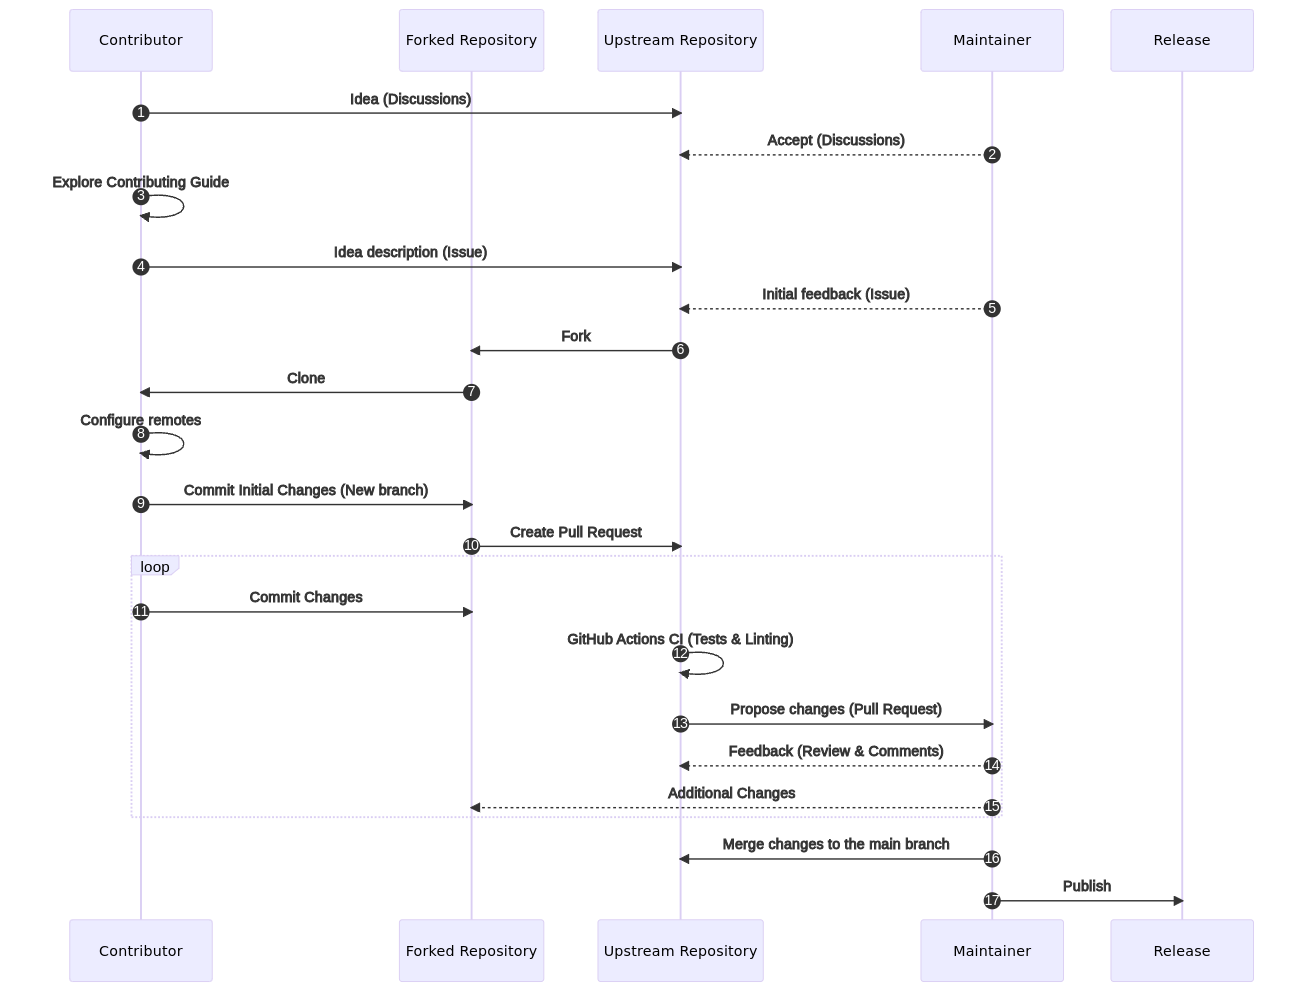
Steps description
1-5. Propose and describe the idea
These steps we have already discussed.
Both links to discussions and issues you can find on the page of the repository:

Discussions are disabled by default in the repository so if the author doesn’t enable it you can use an issue instead.
6-16. Develop the feature
These steps make up Fork & Pull Request workflow which comprises feature development and is better to explore in the next section separately.
17. Publish the release
When the author decides, he will collect all the selected changes into a separate release and publish them in public repositories (for example, in PyPI repository) where it is accessible to all users.
Fork & Pull Request Workflow
To better understand development process using Fork & Pull Request Workflow, let’s consider which types of Git repositories are involved using the picture from this excellent article:
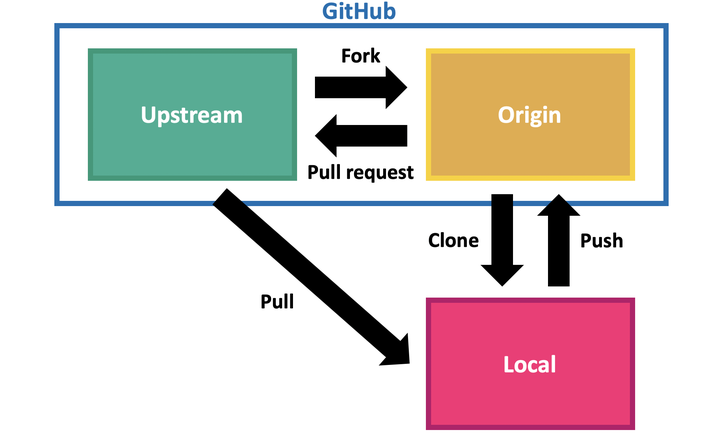
- Upstream
The original repository project that you want to contribute to.
Example: https://github.com/rasbt/mlxtend - Origin
The copy (fork) of the upstream repository.
Example: https://github.com/labdmitriy/mlxtend - Local
Local copy of the forked repository where you will develop new feature.
You will create the local copy by cloning the forked repository and will propagate your local changes by pushing these changes to the forked repository.
Also you can pull the changes from the upstream repository to the local one to account for other changes in the main repository.
There is a beautiful explanation about the difference between forked and cloned repositories here:
A fork is a copy of a repository that allows you to freely experiment with changes without affecting the original project. A forked repository differs from a clone in that a connection exists between your fork and the original repository itself. In this way, your fork acts as a bridge between the original repository and your personal copy where you can contribute back to the original project using Pull Requests
Let’s see how it is related to the steps from the sequence diagram above.
Assumptions for all the steps described below:
- Ubuntu 20.04 is used
- The main branch has the name
master - We consider the process from the contributor’s side
6. Fork upstream repository
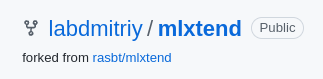
You can fork the repository from the page of the original repository:

And after that you will have the new repository:
7. Clone forked repository
URL for cloning can be found on the forked repository’s page (to use SSH URL you should configure SSH keys):
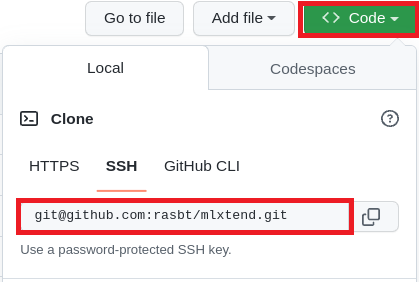
Then you can move to the folder where your project will be located and run git clone <repository-url> command, for example:
git clone git@github.com:rasbt/mlxtend.git
Finally the forked repository will be downloaded to the current folder.
All the following steps will be performed from the cloned repository’s root directory.
8. Configure remotes
Local repository have one remote by default, origin, pointing to the forked repository.
For additional actions with the original repository we need to also specify the second remote pointing to it (usually called upstream) using git remote add <remote-name> <repository-url> command, for example:
git remote add upstream git@github.com:rasbt/mlxtend.git
9. Create initial changes in the new branch
At first you should create a new branch from the master branch and switch to it:
# If you are not in master branch
git checkout master

git checkout -b <feature-branch>
Then you create or change required files and when you are ready commit them to the local repository:
git add <files>
git commit -m "<comment>"
Finally you push commited changes to the forked repository:
git push origin master
10. Create Pull Request
Pull Request is based on feature branch and will be the place for all the things about further feature development - discussion, review, changes history etc.
You should create Pull Request on the page of the forked repository:
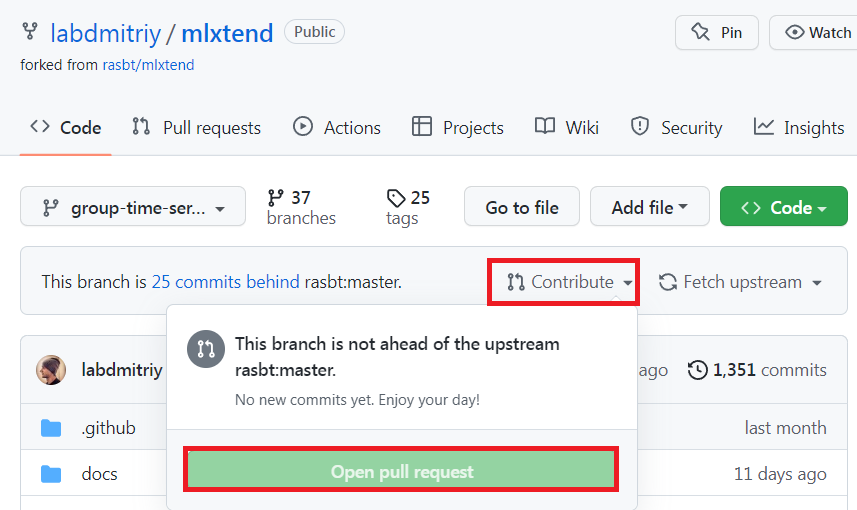
The button is disabled in this screenshot because I’ve already merged the changes, so you will see enabled button after the previous step.
Steps 11-15 are one iteration of the feature development itself and can be repeated multiple times until all the requirements will be satisfied.
(Formally initial changes are also the part of this process but it is described above as a separate step to focus on Pull Request creation.)
11. Commit changes
You commit and push further changes using the same command as before:
git add <files>
git commit -m "<comment>"
git push origin master
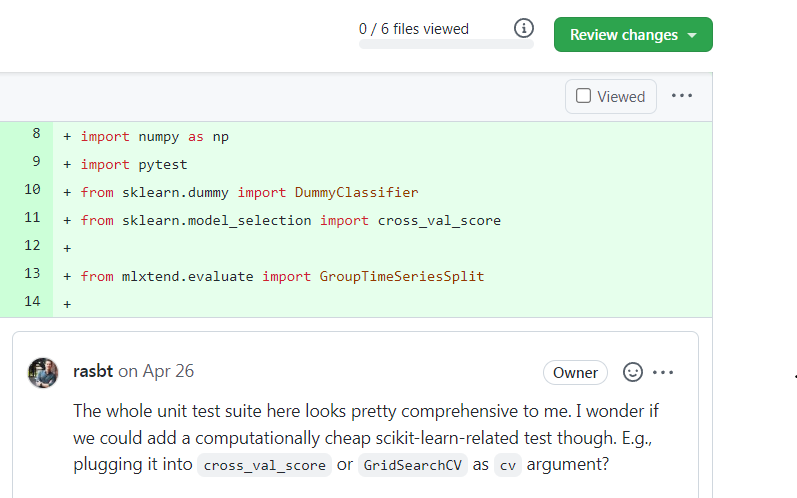
In the case of contributing to mlxtend I created the code for the feature and prepared tests and documentation for it.
12. Check changes using GitHub Actions
GitHub Actions makes it easy to build, test and deploy your code right from GitHub.
There are 2 actions in mlxtend which are executed for each change pushed to the feature branch - unit tests and linting:
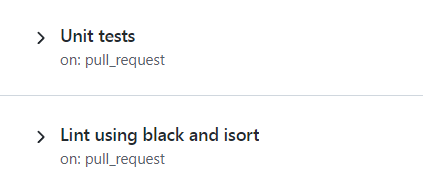
These actions consist of the following steps:
| Testing | Linting |
|---|---|
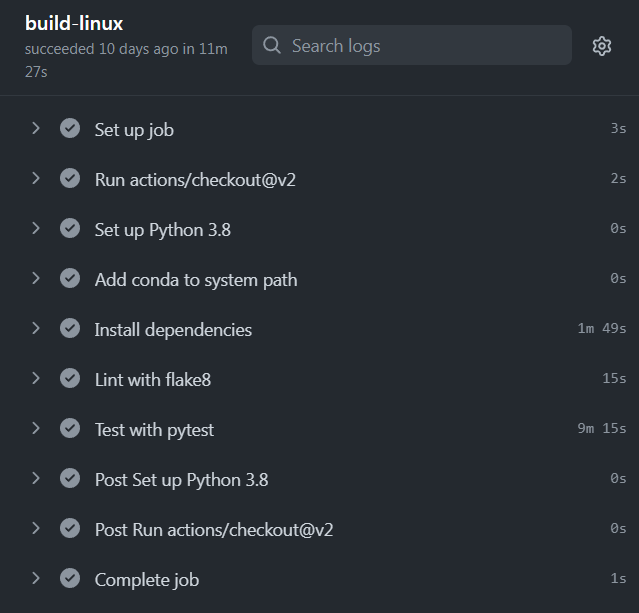 |
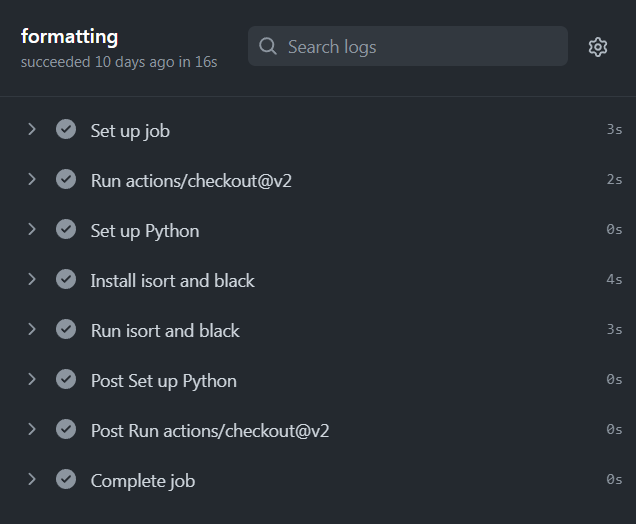 |
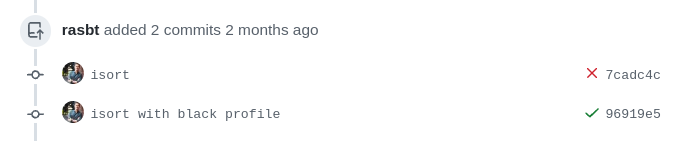
The status of checking will be shown in Pull Request for each pushed change and you can drill down to see the details:
13-15. Review proposed changes
During these steps the maintainer can check the proposed changes (Step 13) and the status of executed checks by GitHub Actions, and give a feedback after review (Step 14):
The maintainer can also add the changes directly to the feature branch (Step 15) but I will not describe it here because this article explains it very clear.
16. Merge changes to the main branch
After all requirements are satisfied, maintainer will merge accepted changes to the main branch.
Additional cases
There are additional cases that you will encounter and it is very useful to know how to deal with them.
Update the forked repository with upstream changes
# Sync main branch of the forked repository with the changes from the upstream repository
git checkout master
git pull upstream master

# Push changes to the forked repository
git push origin master
Merge changes from the main branch to the feature branch
# Merge changes to the feature branch
git checkout <feature-branch>
git merge master

# Push changes to the forked repository
git push origin <feature-branch>
Delete local and remote feature branches
# Switch from feature branch
git checkout master

# Delete local branch
git branch -D <feature-branch>

# Delete remote branch
git push -d origin <feature-branch>
If you are interested in more cases and details, these links were very useful for me:
Results
What I gained at the end of contributing?
New skills
Now I understand much more clearly how to make contributions, the structure of the large Python project, git fork & pull request workflow, formatting using black, testing using pytest, how to create documentation based on Jupyter notebooks and mkdocs…
And this is only the list of the skills directly related to contributing.
Improved profile/resume
I guess that it should not be the main reason for contributing but it is great as additional bonus.
Conclusions
- There is nothing complicated and scary in contributing if you start with simple and small steps
- Contributing is very useful for all the sides - maintainer, contributor and user
- Preparation is extremely important to make communication with maintainer as efficiently as possible and reduce the number of iterations
- Be patient - maintainers are often very busy and may not respond for a while
Comments